Concrete surfaces take a beating over time. Spalling, scaling, and surface cracking are frustrating but common, and the knee-jerk reaction is often to assume the entire slab needs to go. That assumption is expensive and usually wrong. Understanding what is partial depth concrete repair gives you a smarter path forward. It's a targeted concrete repair method that addresses surface-level damage without the cost and disruption of tearing out and replacing an entire slab. This guide breaks down how it works, when to use it, and what separates a repair that lasts from one that fails in two years.
Table of Contents
- Key takeaways
- What is partial depth concrete repair?
- Materials and methods used in partial depth repair
- Common causes of partial depth damage and repair challenges
- Step-by-step process of performing partial depth concrete repair
- Partial depth repair benefits and maintenance implications
- My take on what actually makes these repairs last
- Get expert concrete repair in Birmingham, AL
- FAQ
Key takeaways
| Point | Details |
|---|---|
| Partial depth targets surface damage | This method fixes deterioration limited to the upper portion of the slab, not full-depth structural failure. |
| Proper prep determines longevity | Saw-cut vertical edges and substrate cleaning are non-negotiable steps for a repair that holds. |
| Root causes must be treated first | Patching without addressing chloride ingress or freeze-thaw damage accelerates future failure. |
| Material choice affects service life | Rapid-set patches last 5 to 15 years; conventional concrete repairs can last 20 to 30 years or more. |
| Early action saves serious money | Catching surface damage before it reaches reinforcement avoids the far greater cost of full-depth replacement. |
What is partial depth concrete repair?
Partial depth concrete repair is a targeted technique used to fix surface-level damage that does not extend beyond the top reinforcing steel mat. Think of your concrete slab as having layers. When deterioration stays within the upper third to upper half of the slab thickness and hasn't compromised the structural steel below, you have a candidate for partial depth repair rather than full removal.
The types of distress this method addresses include:
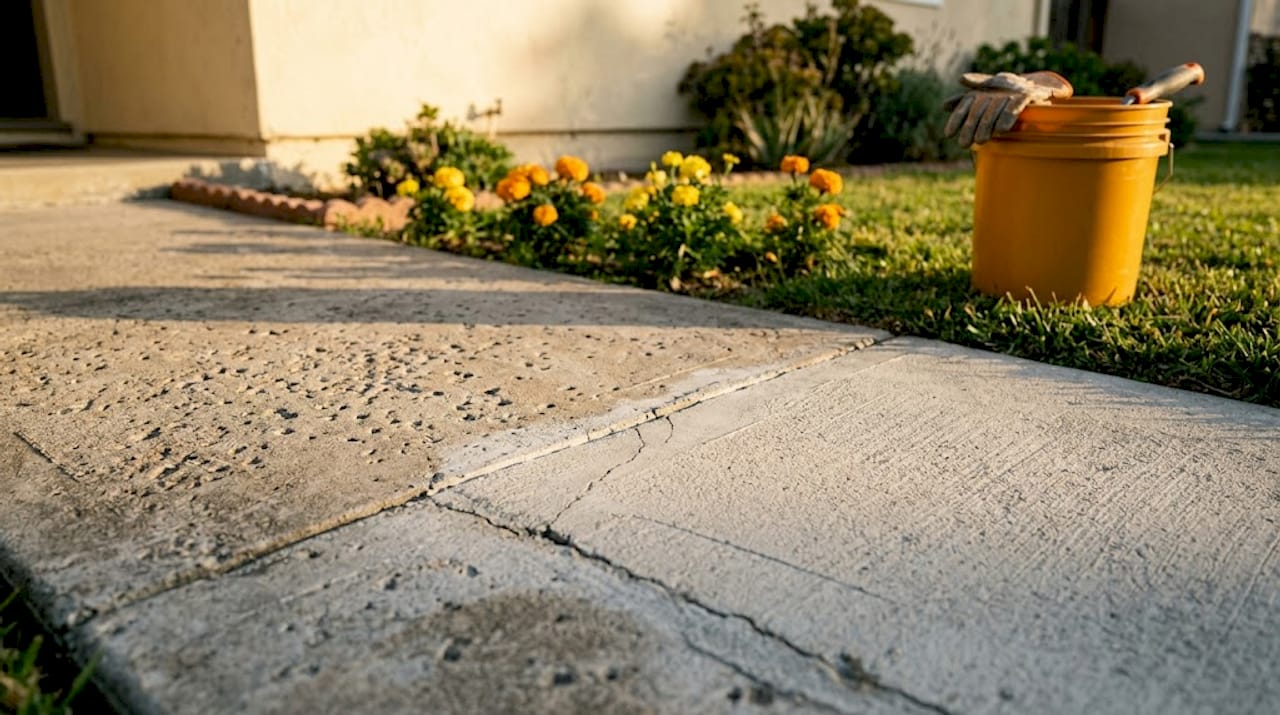
- Spalling: Chunks of surface concrete breaking away, often caused by freeze-thaw cycles or corrosion pressure from below.
- Scaling: Surface flaking or peeling, typically tied to deicing salt use or poor finishing practices.
- Surface cracking: Shallow cracks that haven't propagated through the full slab depth.
- Delamination: Thin layers of concrete separating from the substrate, often detectable by a hollow sound when tapped.
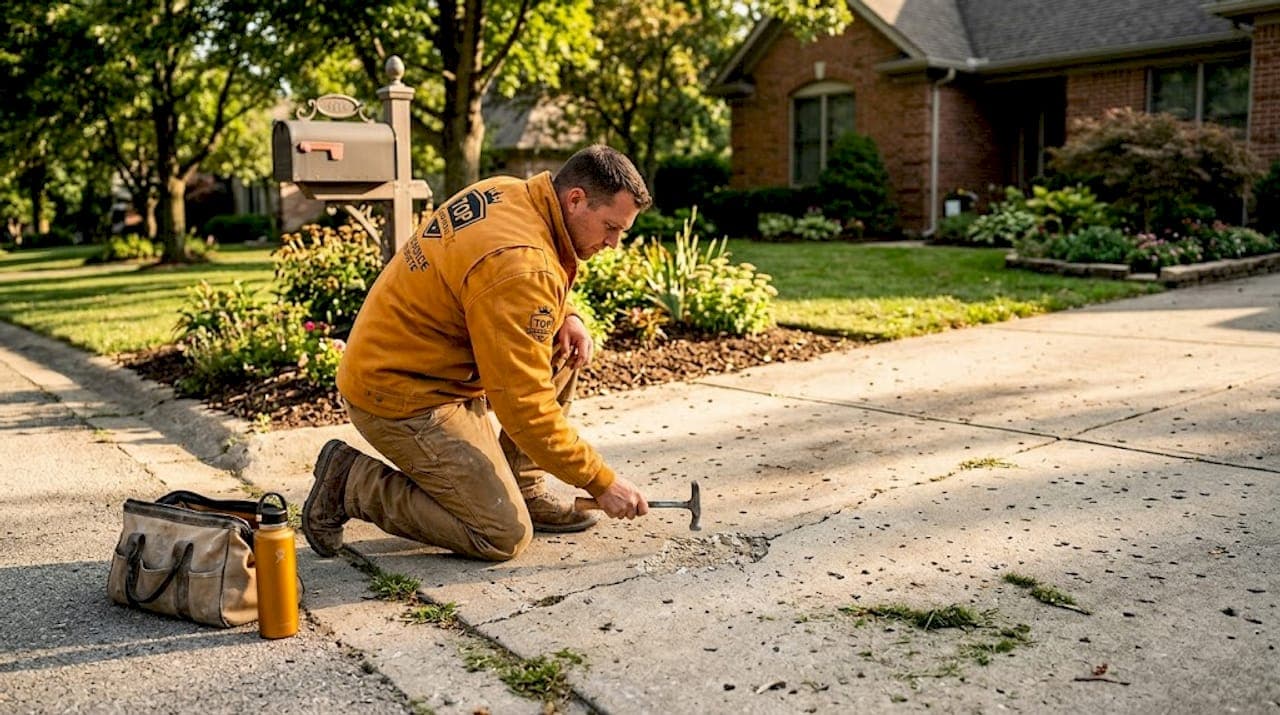
Knowing whether damage is partial or full-depth is the first decision you have to make. Visually, surface spalling and shallow cracks suggest partial depth. But you also need to check the underside of the slab. Map cracking, efflorescence, or rust staining on the soffit confirms that damage has traveled through the full depth, which means partial repair is off the table and full-depth replacement is necessary.
Pro Tip: Tap the surface with a hammer or chain drag. A hollow sound indicates delamination beneath the surface, a reliable field test before calling in a contractor.
Materials and methods used in partial depth repair
Getting the materials and methods right is where most repairs either succeed or fail. Surface preparation is the single most critical variable in the entire process.
Here's the standard sequence a qualified contractor follows:
- Saw-cut the repair perimeter. Feathered edges are the primary cause of premature repair failure. Vertical saw cuts at least 10mm deep create a clean boundary that bonds properly and resists edge spalling.
- Remove deteriorated concrete. Removal must reach at least 3/4 inch below the top reinforcing steel to create the mechanical interlock the patch needs to stay in place.
- Choose the right removal method. Hydrodemolition removes damaged concrete cleanly without introducing microcracks, which pneumatic hammers commonly cause. It also cleans the reinforcing steel simultaneously, improving bond quality.
- Clean and prepare the substrate. The substrate must achieve a minimum pull-off strength of 1.5 MPa before any patching material goes down. Sandblasting, shot blasting, or high-pressure water cleaning gets you there.
- Apply corrosion inhibitor to exposed rebar. Any steel exposed during removal should be cleaned to bright metal and coated before patching material is placed.
- Place and finish the repair material. Mix according to manufacturer specifications, consolidate thoroughly, and finish to match the surrounding surface profile.
- Cure properly. Curing is not optional. Wet curing or curing compounds applied immediately after finishing protect the patch during the critical early strength-gain period.
Here's how the two main material categories compare:
| Material Type | Typical Service Life | Best Use Case | Key Tradeoff |
|---|---|---|---|
| Rapid-set patching compound | 5 to 15 years | High-traffic areas needing fast return to service | Shorter lifespan, higher cost per unit |
| Conventional concrete mix | 20 to 30+ years | Larger repairs where cure time is acceptable | Longer cure time before use |
| Polymer-modified mortar | 10 to 20 years | Areas with thermal cycling or chemical exposure | Requires careful surface prep |
Pro Tip: When you have multiple small patches in close proximity, combine them into a single larger repair. Isolated small patches surrounded by deteriorating concrete fail faster than consolidated repairs with clean, saw-cut boundaries on all sides.
Common causes of partial depth damage and repair challenges
Understanding why the damage happened matters just as much as fixing it. Repairing without diagnosing the root cause like chloride ingress or Alkali-Silica Reaction leads to accelerated deterioration regardless of how well the patch was installed.
The most frequent culprits behind surface concrete damage include:
- Freeze-thaw cycling: Water enters surface pores, freezes, expands, and fractures the concrete from within. This is especially damaging in climates with repeated temperature swings around the freezing point.
- Chloride penetration: Deicing salts and marine environments drive chlorides into the concrete, eventually reaching the rebar and triggering corrosion. The corrosion products expand and crack the concrete above.
- Water ingress: Poor drainage, cracked sealants, or inadequate slope allows water to pool and penetrate, accelerating all other deterioration mechanisms.
- Carbonation: Carbon dioxide from the atmosphere reacts with calcium hydroxide in concrete, reducing the pH that protects rebar from corrosion over time.
One challenge that surprises many property owners is the ring anode or halo effect. When you patch a section of concrete, the repaired area becomes cathodic relative to the surrounding concrete. This electrochemical difference accelerates corrosion in the rebar just outside the patch boundary, causing new damage to appear in a ring pattern around the repair. Comprehensive repair plans that include cathodic protection can mitigate this effect, but ignoring it means you'll be patching again sooner than expected.
Partial depth repair addresses the symptom. Treating the root cause addresses the disease. A patch without a cause diagnosis is a temporary fix with a countdown timer.
Failure modes to watch for after a repair include delamination at the patch boundary, edge spalling at the saw-cut line, and new cracking appearing within or around the patch. These are signs that either the substrate wasn't properly prepared, the root cause wasn't addressed, or the wrong material was selected for the conditions.
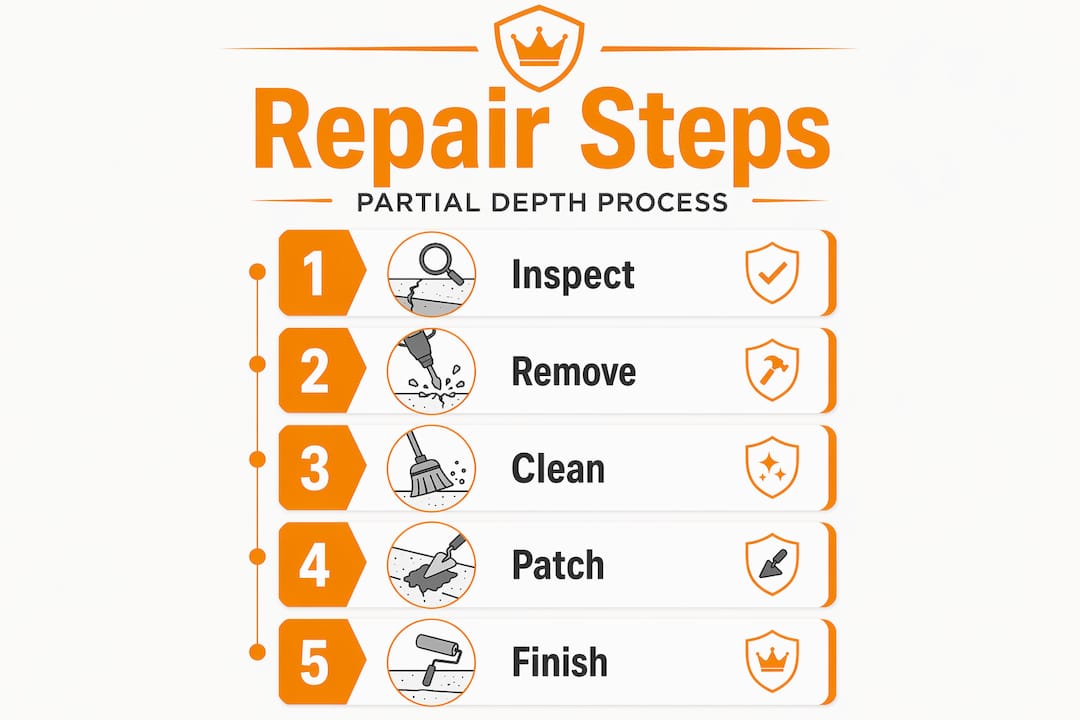
Step-by-step process of performing partial depth concrete repair
Knowing what the process looks like helps you evaluate whether a contractor is doing the job right. Here's what a proper partial depth repair looks like from start to finish:
- Assess and designate the damage. Determine whether each area of distress qualifies as partial or full depth. Use sounding, visual inspection, and soffit examination to make this call before any work begins.
- Mark the repair boundaries. Outline each repair area with straight lines. Irregular shapes create stress concentrations at corners, so rectangular or square boundaries are preferred.
- Saw-cut the perimeter. Cut vertical edges to at least 10mm depth along all marked boundaries. This step cannot be skipped. Tapered or feathered edges debond and spall under traffic loading.
- Remove deteriorated concrete. Break out and remove all unsound material down to 3/4 inch below the reinforcing steel. Hydrodemolition is preferred for larger areas. Pneumatic tools are acceptable for small patches but require care to avoid microcracking the substrate.
- Clean the substrate and rebar. Blast or pressure-wash the repair cavity to remove dust, laitance, and loose particles. Clean any exposed rebar to bright metal and apply a corrosion inhibitor coating.
- Apply bonding agent if required. Some repair materials require a bonding agent applied to the substrate. Follow the material manufacturer's instructions exactly.
- Mix and place repair material. Mix to the specified water-to-binder ratio. Place in lifts if the repair is deep, consolidate with a vibrator or rod, and screed flush with the surrounding surface.
- Finish and cure. Texture the surface to match the surrounding concrete for traction and appearance. Begin curing immediately using wet burlap, curing compound, or plastic sheeting, and maintain curing for the full period specified by the material manufacturer.
Pro Tip: Temperature matters more than most people realize. Placing repair material in direct sun on a hot day or in near-freezing temperatures dramatically affects bond strength and cure quality. Schedule repairs during moderate conditions whenever possible.
Partial depth repair benefits and maintenance implications
The case for partial depth repair over full-depth replacement comes down to three things: cost, time, and structural preservation.
On cost, partial depth repairs typically run a fraction of what full-depth replacement costs. You're not paying for demolition of the entire slab, disposal of full-depth concrete debris, or the extended cure time that takes a surface out of service for days. Rapid-set patching materials can return a surface to traffic in as little as a few hours, which matters enormously for commercial properties and parking structures.
Here's a quick look at how partial depth repair stacks up against full-depth replacement:
| Factor | Partial depth repair | Full depth replacement |
|---|---|---|
| Relative cost | Low to moderate | High |
| Downtime | Hours to one day | Days to weeks |
| Structural disruption | Minimal | Significant |
| Best suited for | Surface and upper-layer damage | Through-slab failure |
| Service life (proper prep) | 5 to 30 years depending on material | 25 to 40+ years |
Routine maintenance after a repair extends its service life significantly. The key practices include:
- Annual inspections: Walk the repaired areas and look for new cracking, edge spalling, or surface scaling. Catching problems early keeps repair costs low.
- Sealant maintenance: Reapply joint sealants and surface sealers on the schedule recommended by your contractor. Sealants are the first line of defense against water and chloride intrusion.
- Drainage management: Keep drains clear and address any ponding water near repaired areas. Standing water is the fastest way to accelerate deterioration.
When partial depth repair is no longer appropriate, the signs are clear. Damage that reaches or compromises the reinforcing steel, structural cracking, or widespread delamination across a large area all point toward what is full depth concrete replacement as the necessary next step.
My take on what actually makes these repairs last
I've watched a lot of concrete repairs fail before they should. In my experience, the failure almost never comes from the patch material itself. It comes from what happened before the material went in.
The most consistent mistake I see is skipping or rushing the substrate preparation. Property owners and even some contractors treat the saw-cutting and cleaning steps as formalities. They're not. A patch placed on a dusty, contaminated, or weakened substrate will delaminate. It's not a question of if. It's a question of when.
The second thing I'd push back on is the tendency to treat partial depth repair as a quick cosmetic fix. When you understand the ring anode effect and how chloride-driven corrosion works, you realize that patching without treating the underlying corrosion environment is like painting over rust. The structure keeps degrading beneath the surface while the patch looks fine from above.
What I've found actually works is treating every repair as a system. Diagnose the cause. Prepare the substrate properly. Use the right material for the conditions. Protect the rebar. And follow up with regular inspections. That approach turns a 5-year patch into a 20-year repair. The extra time spent on prep is never wasted.
— David
Get expert concrete repair in Birmingham, AL
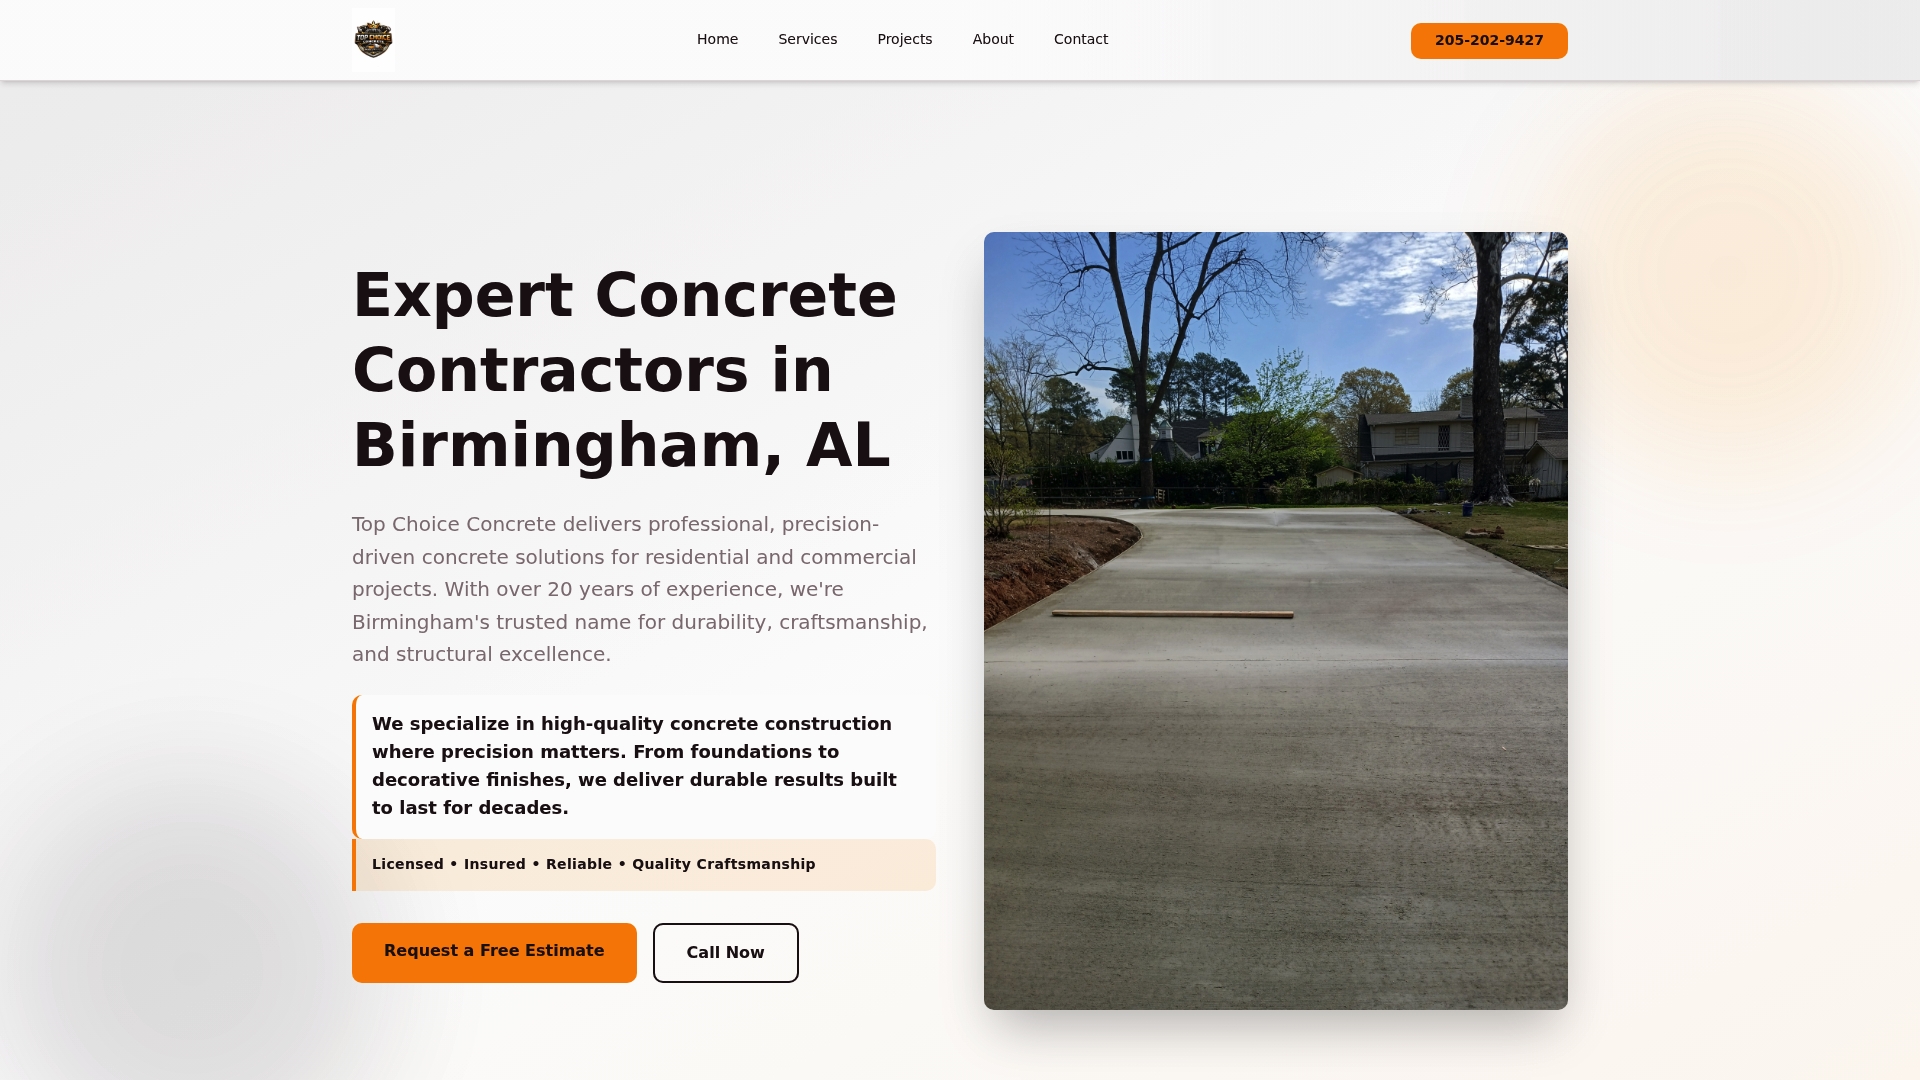
Surface concrete damage doesn't wait, and neither should you. The longer spalling and scaling go unaddressed, the deeper the deterioration travels and the more expensive the fix becomes. At Thetopchoiceconcrete, we've spent over 20 years performing concrete repair services for homeowners and commercial clients throughout Central Alabama. We know how to assess damage correctly, prepare substrates properly, and choose materials that hold up to Alabama's climate. Whether you're managing a commercial property or protecting your home's driveway and walkways, our team delivers clean workmanship at fair prices. Check our service area coverage to see if we work in your location, and reach out for an honest assessment of what your concrete actually needs.
FAQ
What is partial depth concrete repair?
Partial depth concrete repair is a method that removes and replaces only the deteriorated upper portion of a concrete slab, specifically damage that does not extend beyond the top reinforcing steel. It targets surface distress like spalling, scaling, and shallow cracking without requiring full slab removal.
How do I know if my concrete needs partial or full depth repair?
Check the surface for spalling and shallow cracks, and inspect the underside of the slab for map cracking, rust staining, or efflorescence. If the soffit shows these signs, the damage is full-depth and requires full-depth replacement rather than a partial repair.
How long does a partial depth concrete repair last?
Service life depends heavily on material choice and preparation quality. Rapid-set patching materials typically last 5 to 15 years, while conventional concrete repairs done with proper substrate prep can last 20 to 30 years or more.
What causes partial depth concrete repairs to fail prematurely?
The most common causes are feathered edges instead of saw-cut vertical boundaries, inadequate substrate cleaning, and failure to address the root cause of the original damage such as chloride ingress or freeze-thaw cycling.
Can I do a partial depth concrete repair myself?
Small repairs are possible for experienced DIYers, but proper saw-cutting, substrate preparation, and material selection require tools and knowledge that most homeowners don't have. Incorrect prep leads to early failure, making professional repair the more cost-effective choice for anything beyond minor patching.